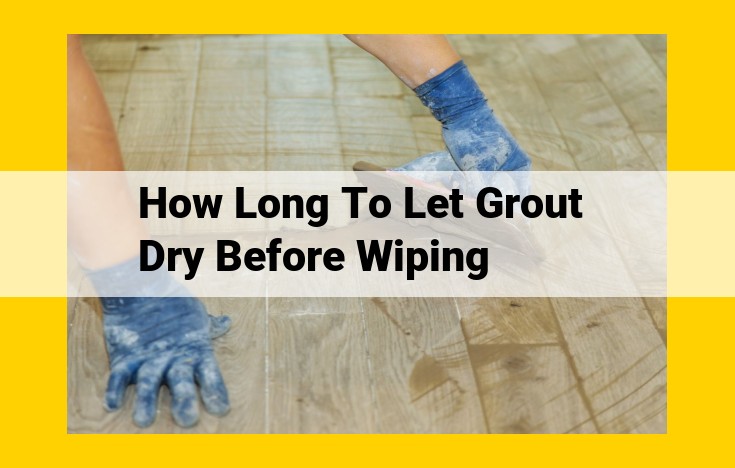
After applying grout to tile joints, allow ample time for it to dry before wiping. Drying time can vary depending on the grout composition and environmental conditions. As a general rule, wait for an initial drying of 15-30 minutes until the grout is firm enough to withstand wiping without leaving drag marks. However, refer to the manufacturer’s instructions or recommendations for specific drying times based on the grout type and surrounding conditions.
Materials for Grout Application: Your Ultimate Guide
Embark on a journey of home improvement, where the humble grout plays a pivotal role in transforming your tiled surfaces into masterpieces. Prepare yourself with the essential materials that will empower you to master the art of grout application.
Grout: The Foundation of Your Vision
Discover the diverse realm of grout compositions, ranging from traditional cement-based to epoxy-based and trendy polymer-modified. Each type boasts unique properties, tailored to suit the demands of different tile types and environments. Choose wisely from a tapestry of colors and textures to complement your aesthetic vision and create a harmonious flow throughout your space.
Sealants for Enduring Beauty
Don’t let time and wear take a toll on your immaculate grout. Sealants stand as your unwavering allies in preserving its pristine condition. Explore the wonders of topical sealers, forming an invisible barrier against stains and moisture, or delve into the depths of penetrating sealers, safeguarding your grout from within.
Essential Tools for Grout Mastery
Harness the power of the right tools to elevate your grouting experience. A grout float, the maestro of the operation, expertly shapes and smoothes the grout, ensuring a seamless transition between tiles. Sponges become your faithful companions, gently wiping away excess grout and restoring order to your tiled haven. Buckets and towels complete your arsenal, enabling you to meticulously mix and clean, leaving no trace of the grouting process.
Environmental Factors Influencing Grouting
When it comes to grouting, the environmental conditions play a crucial role in determining the success of your project. Understanding how temperature and humidity affect grout application and curing time is essential for ensuring proper adhesion and durability.
Temperature
Temperature significantly influences grout’s workability and curing. Ideal temperatures for grouting range from 55 to 80 degrees Fahrenheit (13 to 27 degrees Celsius). At higher temperatures, grout dries too quickly, making it difficult to work with and potentially leading to cracking. On the other hand, temperatures below 55 degrees Fahrenheit (13 degrees Celsius) slow down grout’s curing process, which can delay project completion and affect the final strength of the grout.
Humidity
Humidity levels also play a role in grouting. Excessive humidity can slow down grout’s curing process and potentially cause efflorescence, a whitish residue that appears on the grout’s surface. High humidity can also make grout more difficult to work with, as it can become too wet and runny.
Optimal Conditions for Grouting
To ensure the best possible results, it’s important to create optimal conditions for grouting. Aim for temperatures between 55 and 80 degrees Fahrenheit (13 to 27 degrees Celsius) and humidity levels below 50%. If conditions are not ideal, consider adjusting the timing of your project or taking additional precautions, such as using fans or dehumidifiers to control temperature and humidity.
By understanding and managing the environmental factors that influence grouting, you can ensure a successful and long-lasting installation.
Tile Installation Considerations
When embarking on a tiling project, understanding the nuances of tile installation is crucial for a successful outcome. Tiles come in a wide variety of materials, each with its unique characteristics. Grasping the differences between porous and non-porous tiles is essential.
Porous tiles, such as ceramic and terracotta, absorb moisture, requiring special attention during grouting. They prefer sanded grouts that fill their pores, providing a durable and water-resistant finish.
In contrast, non-porous tiles, like porcelain and glass, have a dense surface that repels moisture. They pair well with unsanded grouts that create a smooth, refined look.
Beyond the tile type, the installation process itself plays a vital role. Tile adhesive is the backbone of a secure tile installation, holding the tiles firmly in place. Choosing the right adhesive is paramount, as different types are formulated for specific tile materials and substrates.
Leveling systems and spacers are indispensable tools for achieving a uniform and level tile surface. Leveling systems utilize clips and wedges to keep tiles at the same height, while spacers maintain consistent gaps between tiles.
Finally, grout release agents serve as a protective barrier between grout and tiles. Applying these agents before grouting prevents grout from adhering to the tile surface, making cleanup a breeze and ensuring a pristine finish.
