To remove sap from hair: First, identify the sap type and prepare materials like sap removers, olive oil, or coconut oil. Apply the remover or oil to the sap, let it set, then gently comb or brush the loosened sap out. Remember to patch-test before use and take safety precautions when handling chemicals. For stubborn stains, consider using a stronger remover or consulting a professional.
Navigating the Sticky World of Sap: A Comprehensive Guide
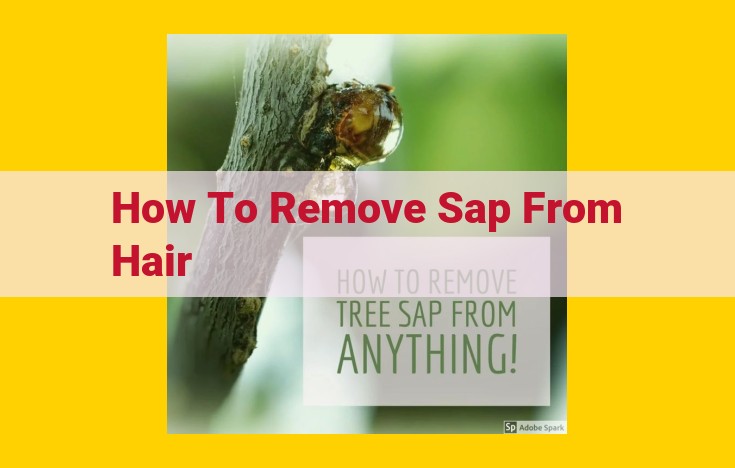
Sap, the lifeblood of plants, holds a vital role in their survival. However, when it comes to our belongings, it can leave behind an unsightly and stubborn residue. This guide will delve into the world of sap, equipping you with the knowledge and tools to conquer any sticky situation it throws your way.
Understanding Sap’s Sticky Secrets
Sap is a sugary liquid produced by plants as a food source, defense mechanism, and wound sealant. Its primary components include sucrose, glucose, and fructose, giving it a sweet and viscous nature.
Types of Sap You’ll Encounter
-
Coniferous Sap: This clear, sticky substance is produced by pine trees and other conifers. Its high resin content makes it particularly difficult to remove.
-
Deciduous Sap: Found on many broadleaf trees, this sap is more liquid and contains less resin. It tends to be less stubborn than coniferous sap.
-
Fruit Tree Sap: Sweet and sticky, this sap is often produced by fruit trees like apples and cherries. Its sugar content makes it a target for insects and birds.
Materials and Products for Sap Removal
When it comes to removing sap from various surfaces, it’s essential to choose the right tools for the job. Let’s delve into the options available, exploring their advantages and disadvantages for effective sap removal.
Commercial Sap Remover Products:
Commercial products specifically designed for sap removal offer convenience and effectiveness. Some popular options include:
- Goo Gone: A gel-like product that effectively breaks down sap without damaging the surface.
- WD-40: A multi-purpose lubricant that can also dissolve sap and leave a protective layer.
- Citrus-based Cleaners: Natural and eco-friendly options that use d-limonene, a solvent found in citrus fruits, to break down sap.
Benefits:
- Ease of Use: Formulated for instant application.
- Effective Removal: Specialized formulas effectively dissolve sap.
- Minimal Surface Damage: Designed to be gentle on most surfaces.
Drawbacks:
- Cost: Commercial products can be more expensive than homemade solutions.
- Chemical Composition: May contain harsh chemicals that require proper handling.
Homemade Sap Remover Solutions:
For those who prefer a more natural approach, several homemade solutions can effectively remove sap.
- Olive Oil: A gentle and non-toxic option that can loosen and dissolve sap.
- Coconut Oil: Similar to olive oil, coconut oil is another natural solvent that can penetrate and remove sap.
- Rubbing Alcohol: An effective solvent for sticky substances like sap, but it can also be harsh on some surfaces.
Benefits:
- Natural and Eco-Friendly: Free from harsh chemicals.
- Budget-Friendly: Easily accessible and inexpensive.
- Versatile: Can be used on a variety of surfaces.
Drawbacks:
- Multiple Applications: May require repeated treatments for stubborn sap.
- Less Effective: Homemade solutions may not be as effective as commercial products.
Methods for Removing Sap
Applying Sap Remover and Waiting
When dealing with sap stains, the classic approach involves using a commercial or homemade sap remover. These products often contain solvents like mineral spirits or citrus terpenes that dissolve the sticky sap.
Step-by-Step Guide for Commercial Sap Removers:
- Test the product: Apply a small amount to an inconspicuous area first to ensure it doesn’t damage the surface.
- Apply the remover: Saturate a clean cloth with the sap remover and blot it onto the stain.
- Wait: Follow the manufacturer’s instructions for the recommended waiting time, which can range from a few minutes to an hour.
- Wipe off: Use a fresh, damp cloth to wipe away the loosened sap.
- Rinse: Rinse the area thoroughly with clean water and dry it with a towel.
Applying Homemade Sap Removers:
- Dish Soap: Mix a few drops of dish soap with warm water to create a cleaning solution.
- Rubbing Alcohol: For smaller stains, apply rubbing alcohol directly to the sap and rub gently.
- Mayonnaise: Spread a thick layer of mayonnaise over the sap and let it sit for an hour or two.
Using Warm Olive Oil or Coconut Oil
A natural, alternative approach to sap removal involves using warm olive oil or coconut oil. These oils have the ability to penetrate and soften the sap, making it easier to remove.
How to Use Warm Oil:
- Heat the oil: Warm up the olive or coconut oil slightly in the microwave or over low heat on the stovetop.
- Apply to the stain: Apply the warm oil directly to the sap stain and let it sit for 30-60 minutes.
- Scrape or brush off: Using a soft brush or a plastic scraper, gently scrape or brush away the loosened sap.
- Wipe clean: Use a clean cloth dampened with water to wipe away any remaining residue.
Essential Tools for Sap Removal: The Comb or Brush
When it comes to sap removal, the right tools make all the difference. Among the essential tools, a soft-bristled brush or wide-toothed comb is paramount.
Importance of Using a Gentle Brush or Comb:
Sap, when fresh, is a sticky substance that can adhere tightly to surfaces. Using a brush or comb with sharp or stiff bristles can damage delicate fabrics or surfaces. Gentle bristles prevent snagging or scratching, ensuring that the sap is removed without causing further harm.
Techniques for Effective and Damage-Free Combing:
- Start Gently: Begin by lightly brushing the sap in the direction of the grain or fabric weave. Avoid applying excessive pressure, as this can push the sap deeper into the fibers.
- Avoid Circular Motions: Circular brushing can cause the sap to spread and create more stains. Stick to straight, gentle strokes.
- Change Direction: As you work on the sap, change the direction of brushing periodically to ensure even removal and prevent buildup.
- Use a Soft Cloth: If the sap is particularly stubborn, wrap a soft cloth around the comb or brush to create a buffer between the bristles and the surface.
Remember to test the brush or comb on an inconspicuous area before using it on the entire sap stain. This will help prevent any potential damage.
Additional Tips and Considerations
- Patch testing before applying any treatment
- Safety precautions when handling chemicals
- Dealing with large or stubborn sap stains
Additional Tips and Considerations for Sap Removal
-
Patch Testing: Before applying any sap remover, always conduct a patch test in an inconspicuous area to check for any discoloration or damage. This is especially important for delicate fabrics.
-
Safety Precautions: When handling chemicals, always wear appropriate protective gear such as gloves and goggles. Avoid direct contact with skin or eyes and ensure proper ventilation in the work area.
-
Large or Stubborn Sap Stains: For extensive or stubborn sap stains, consider using a stronger commercial sap remover or denatured alcohol. However, always consult the product instructions carefully and patch test first. If the stain persists, you may need to seek professional cleaning services.
